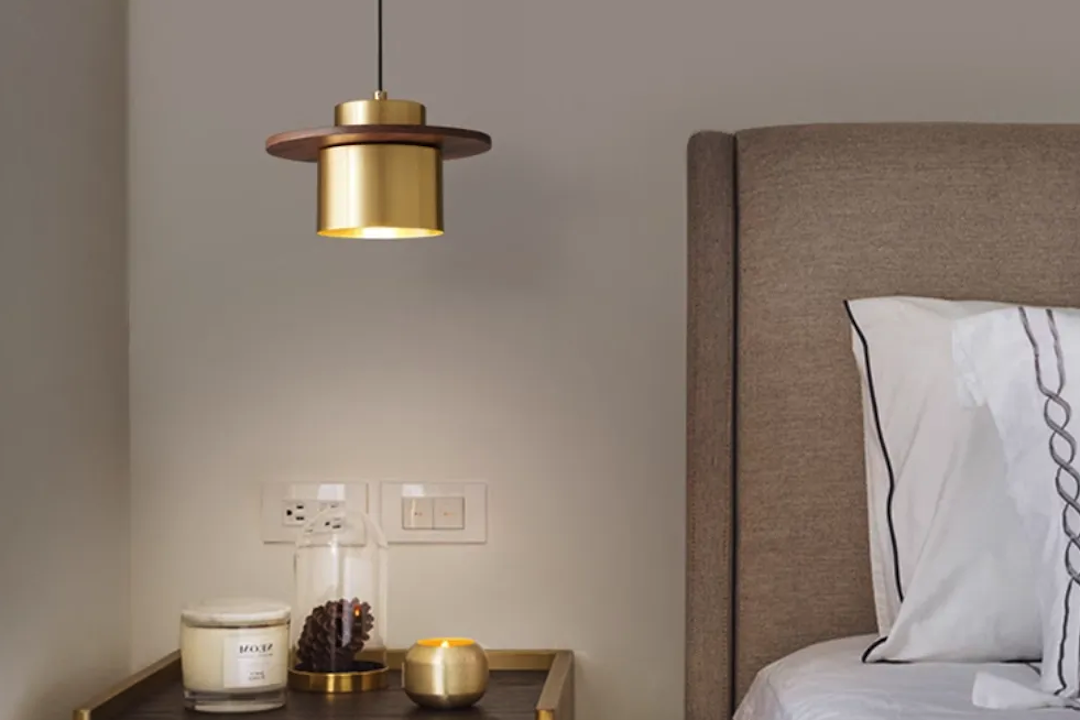
So, you want to give your shiny new brass lighting a vintage vibe, eh? The good news is, you absolutely can! Tarnishing brass to create a beautiful, aged patina is a straightforward process that you can do at home with common household items. It’s not just about aesthetics; a natural or accelerated patina also protects the brass from further corrosion down the line. Think of it as a natural, protective coating that also happens to look incredibly cool.
Before we dive into the how-to, let’s briefly touch on what we’re actually working with. Brass is an alloy primarily made of copper and zinc. It’s this copper content that’s responsible for the beautiful aging process we call patina. Patina is essentially a thin layer of corrosion that forms on the surface of metals like brass, copper, and bronze when exposed to air, moisture, and certain chemicals. It’s not rust, which is specific to iron, but rather a chemical reaction that changes the surface color and texture.
Why Patina Forms
The copper in brass reacts with oxygen and other elements in the environment. Over time, this reaction creates a dull, often greenish-brown or darker brown layer. This layer is actually quite stable and helps protect the underlying metal from more severe corrosion. It’s a natural process, and the specific color and texture of the patina depend on the exact composition of the brass, the environmental conditions, and the duration of exposure.
Natural vs. Accelerated Patina
Left to its own devices, brass will eventually develop a patina naturally. This can take years, even decades, depending on the environment. If your brass lighting Globodi is indoors and polished frequently, it might take a very long time to show significant aging. Outdoors, it will age much faster due to constant exposure to the elements.
Accelerated patina, which is what we’ll be focusing on, is simply speeding up this natural process using various solutions and techniques. This allows you to achieve that aged look in a matter of hours or days, rather than years.
Preparing Your Brass Lighting for Tarnishing
Proper preparation is crucial for a successful and even patina. Skipping this step can lead to splotchy results or a patina that doesn’t adhere well. Think of it like painting; you wouldn’t paint over a dirty surface, right? The same principle applies here.
Cleaning the Brass Thoroughly
First things first, you need to ensure your brass lighting is absolutely spotless. Any oils, dirt, fingerprints, or protective coatings will prevent the tarnishing solution from making even contact with the metal, resulting in an uneven patina.
Dismantling and Protecting Components
If possible, carefully disassemble your lighting fixture. Remove any glass shades, electrical components, or parts that you don’t want to tarnish. Mask off any areas with painter’s tape that you want to keep shiny, such as connecting screws or decorative accents. Always prioritize safety, especially when dealing with electrical fixtures. If you’re unsure about disassembling, consult a professional or err on the side of caution and only clean the accessible brass surfaces.
Degreasing with Soap and Water
Start with a good old-fashioned scrub using warm water and a mild dish soap. Use a soft cloth or sponge to gently clean the entire surface. Pay close attention to nooks and crannies where dirt and grime can accumulate. Rinse thoroughly under running water to remove all soap residue.
Removing Lacquer or Protective Coatings
Many new brass fixtures come with a clear lacquer coating designed to prevent tarnishing and keep them shiny. This coating must be removed before you can apply any tarnishing agent. If you don’t remove it, your efforts will be futile as the solution won’t reach the brass.
You can usually remove lacquer with a chemical stripper specifically designed for clear coats, or by using acetone (nail polish remover, but check for pure acetone). Apply the stripper or acetone to a soft cloth and rub it over the brass surface. You’ll likely see the lacquer start to dissolve and become gummy. Keep rubbing with fresh cloths until the entire coating is gone. Be sure to work in a well-ventilated area and wear gloves and eye protection when using these chemicals. Some people also use very fine steel wool (0000 grade) with denatured alcohol, but be gentle to avoid scratching the brass itself.
Final Wipe Down with Isopropyl Alcohol
Once the brass is clean and the lacquer is removed, give it a final wipe down with isopropyl alcohol. This will remove any residual oils or contaminants that might still be present, ensuring a perfectly clean surface for the tarnishing process. Let the brass air dry completely, or gently dry it with a clean, lint-free cloth. Avoid touching the brass with your bare hands after this step, as your skin oils can create uneven spots. Wear gloves from this point onward.
Choosing Your Tarnishing Agent
There are several methods you can use to accelerate the tarnishing process, ranging from common household items to specialized chemicals. Each method produces slightly different results in terms of color and speed.
Household Methods: The Gentler Approach
These methods are generally safer to use at home and offer a more gradual, often more natural-looking patina. They might take a bit longer but are great for beginners.
Vinegar and Salt Solution
This is a classic for a reason. The acid in vinegar, combined with the corrosive properties of salt, creates a solution that encourages oxidation.
- Preparation: Mix white vinegar (apple cider vinegar can also work, but white is usually preferred for consistency) with a good amount of salt. There isn’t a precise ratio, but a general guideline is about 1/4 cup of salt per cup of vinegar. You want the salt to dissolve, so warm the vinegar slightly if needed.
- Application: You can either submerge smaller brass pieces in the solution or apply it to larger fixtures with a sponge or spray bottle.
- Process: Let the solution sit on the brass. You’ll start to see a change in color, often a dulling and then a darkening, within a few hours. For a more aggressive patina, you can mist the brass with plain water periodically, as the combination of moisture and the solution speeds things up.
- Results: Tends to produce a brownish-green or dark brown patina, depending on the duration and repetitions.
Ammonia Fumes (with Caution!)
This method is very effective for creating a rich, dark brown or even greenish-blue patina (think “verdigris”). However, it’s crucial to exercise extreme caution as ammonia fumes are strong and dangerous.
- Preparation: You’ll need a sealable container (like a plastic tub with a lid or a large bucket with plastic wrap) that’s big enough to hold your brass item without it touching the ammonia. Pour a small amount of household ammonia (not industrial strength) into a shallow dish or bowl.
- Application: Place the dish of ammonia inside the larger container. Suspend your brass item above the ammonia so it’s exposed to the fumes but not submerged in the liquid.
- Process: Seal the container tightly. The fumes will do the work. Check on the brass periodically (every few hours) by quickly opening the container in a very well-ventilated area or outdoors.
- Results: Can produce a wide range of colors from dark brown to green-blue. The longer it’s exposed, the darker and more pronounced the patina.
- Safety: Always do this outdoors or in an extremely well-ventilated area. Wear gloves and eye protection. Avoid inhaling the fumes directly. Ammonia and bleach should never, ever be mixed.
Hard-Boiled Eggs
Believe it or not, the sulfur compounds released by hard-boiled eggs can also tarnish brass, creating a darker, often warm brown patina. This method is slow but produces a very natural-looking finish.
- Preparation: Hard-boil several eggs until the yolks are completely solid. Peel them and then mash them up roughly.
- Application: Place the mashed eggs and your brass item in a sealable plastic bag or airtight container.
- Process: Seal the bag/container and let it sit for several hours or overnight. The sulfur fumes will react with the brass.
- Results: Typically creates a warm, dark brown patina. It’s a subtle method, so repeat if you want a deeper color.
Commercial Patina Solutions: For Specific Results
For more predictable and sometimes faster results, you can purchase commercial patinas specifically formulated for brass and copper. These are often available at craft stores, hardware stores, or online.
Liver of Sulfur (Potassium Polysulfide)
This is a very common and effective chemical for tarnishing brass and copper, producing shades of brown, black, and sometimes blue/purple. It’s available in solid chunks or liquid form.
- Preparation: Follow the manufacturer’s instructions for mixing. Typically, you’ll dissolve a small amount of liver of sulfur (solid or liquid) in warm water in a non-metal container. The solution should be diluted – a little goes a long way.
- Application: Submerge the brass item in the solution or apply it with a sponge. You’ll see a reaction almost immediately.
- Process: The color change happens quickly. Dip and check, then dip again if you want a darker finish. Rinse thoroughly with water once you’ve achieved the desired color to stop the reaction.
- Results: Can achieve a range of dark browns, grays, and blacks.
- Safety: Wear gloves and eye protection. Work in a well-ventilated area. Dispose of the solution responsibly as per local regulations.
Brass Blackening Solutions
There are specialized solutions designed to turn brass a uniform black. These are often used for a very specific, stark contrast.
- Preparation: Again, follow the manufacturer’s instructions, which usually involve diluting the solution.
- Application: Similar to liver of sulfur, either submerge or apply with a sponge.
- Process: The blackening effect is usually quite rapid. Rinse thoroughly once the desired shade is reached.
- Results: A deep, uniform black.
- Safety: Always wear appropriate PPE and follow all safety guidelines.
The Tarnishing Process: Step-by-Step
Now that you’ve prepared your brass and chosen your weapon of choice, let’s go through the general steps for applying the patina.
Application Techniques
The way you apply your chosen tarnishing agent will influence the final look.
Immersion for Even Patina
For smaller items or if you want a very uniform patina across the entire surface, immersion is often the best method. Simply submerge the entire prepared brass piece into your tarnishing solution. This ensures all surfaces are exposed equally to the agent.
Spraying for Control and Variation
Using a spray bottle is great for larger fixtures that can’t be easily submerged, or if you want more control over where the patina develops. It can also lead to interesting variations in the finish. Mist the brass evenly, or focus on areas where you want a deeper tarnish.
Dabbing/Brushing for Spot Patina
For a more distressed or aged look, you can dab or brush the solution onto specific areas. This can mimic natural wear and tear, leaving some areas brighter and others darker. Use a soft sponge, cotton ball, or paintbrush.
Monitoring and Timing
This is where patience and observation come into play. There’s no fixed timeline for tarnishing, as it depends on the brass composition, the strength of your solution, and the ambient temperature.
Checking Progress Regularly
For most methods, especially commercial solutions, the color change can happen quickly. Check your brass frequently. For household methods, you might need to check every hour or so. For ammonia fumes or hard-boiled eggs, you might be looking at several hours or overnight.
Knowing When to Stop
The key is to stop when you achieve the desired level of patina. It’s much easier to add more tarnish than to remove it. If you’re aiming for a subtle antique look, stop when it’s just a few shades darker. If you want a deep, almost black finish, let it go longer.
Rinsing and Drying
Once you’re happy with the color, it’s time to stop the chemical reaction.
Thorough Rinsing
Immediately and thoroughly rinse the brass under cool, running water. This removes any residual tarnishing solution, preventing further chemical action. Make sure to get into all the crevices.
Gentle Drying
Gently pat the brass dry with a clean, soft, lint-free cloth. You can also let it air dry completely. Avoid rubbing vigorously, as this can potentially rub off some of the newly formed patina, especially if it’s very fresh.
Enhancing and Protecting Your Patina
You’ve achieved that gorgeous aged look – now let’s make sure it lasts and looks its best.
Highlighting Details and Reliefs
A freshly tarnished piece can sometimes look a bit flat. To bring out the details and create depth, you can gently “distress” or highlight certain areas.
Light Buffing with Fine Steel Wool or Cloth
Once the patina is completely dry and stable (give it at least 24 hours), you can very gently rub raised areas, edges, or decorative motifs with a superfine steel wool (0000 grade) or a soft cloth. This will remove a tiny amount of the patina from these prominent spots, revealing the brighter brass underneath and creating a beautiful contrast. This technique mimics natural wear and tear and adds character. Be extremely gentle and do it incrementally, checking your progress often.
Applying a Protective Sealant
While patina is a form of protection itself, adding a sealant will further protect your newly aged brass from environmental factors, lock in the desired finish, and prevent further, unwanted tarnishing.
Wax Coatings
For a natural, low-sheen finish, a good quality clear wax (like carnauba wax or beeswax) is an excellent choice. Apply a thin, even coat with a soft cloth, let it dry for a few minutes, then buff gently with a clean cloth. This provides a protective barrier and can deepen the color slightly.
Lacquer Sprays
If you want a more durable and harder finish, especially for fixtures that might be handled often, a clear lacquer spray specifically designed for metals is a good option. These come in various finishes (matte, satin, gloss).
- Application: Apply in a well-ventilated area. Hold the can about 10-12 inches away and apply several thin, even coats, allowing each coat to dry according to the manufacturer’s instructions before applying the next.
- Considerations: Lacquer can be more difficult to remove if you ever want to re-patina the brass. It also creates a “sealed” look that some people find less natural than wax.
Microcrystalline Wax
This is a museum-grade wax that offers excellent protection without altering the appearance too much. It’s great for preserving the subtle nuances of your patina. Apply as you would with other waxes.
Troubleshooting and Maintenance
Things don’t always go perfectly the first time, and even a well-patinated piece needs a little care.
Uneven Patina
If your patina turns out splotchy or uneven, don’t despair!
Re-cleaning and Re-application
The most common reason for uneven patina is improper cleaning or residual lacquer. Go back to square one: thoroughly clean the brass again, ensuring all previous patina (and any missed lacquer) is removed. You can use a fine abrasive like 0000 steel wool or a brass cleaner to get back to bare metal. Then, reapply your chosen tarnishing agent.
Gentle Buffing
For minor unevenness, sometimes a very gentle buffing with fine steel wool can blend out the inconsistencies, creating a more uniform appearance.
Too Dark or Too Light
It’s easy to over-tarnish or under-tarnish on your first try.
Lightening a Dark Patina
If you went too dark, you can try gently rubbing the brass with a very mild abrasive like a paste made of baking soda and water, or a very fine polishing compound. A soft cloth with a tiny bit of brass polish (not an abrasive cleaner) can also help lighten it. Be very careful and work slowly.
Darkening a Light Patina
This is much easier! Simply re-clean the brass (a light clean should be sufficient as the base patina is already there) and reapply your tarnishing solution for a longer period, checking frequently.
General Maintenance for Patinated Brass
Once your brass lighting is perfectly patinated and sealed, a little ongoing care will keep it looking great.
Dusting Regularly
A simple dusting with a soft, dry cloth is usually all that’s needed. This prevents dust and grime from building up and obscuring the patina.
Avoiding Harsh Cleaners
Never use abrasive cleaners, polishes with harsh chemicals, or anything designed for shiny brass on your patinated pieces. These will strip away the patina you worked so hard to create.
Re-applying Protective Coatings
Depending on the environment and how much the fixture is handled, you might want to reapply your wax or lacquer sealant every year or two to maintain protection.
By following these steps, you can confidently transform your brass lighting into pieces with a rich, historic character. It’s a rewarding process that adds a touch of bespoke charm to any space. Good luck, and enjoy the beautiful results!